Divi Builder Section Custom Css Gutter Width 1

Building A Magazine Layout With Divi In 2020 Magazine Layout Layout Elegant Themes

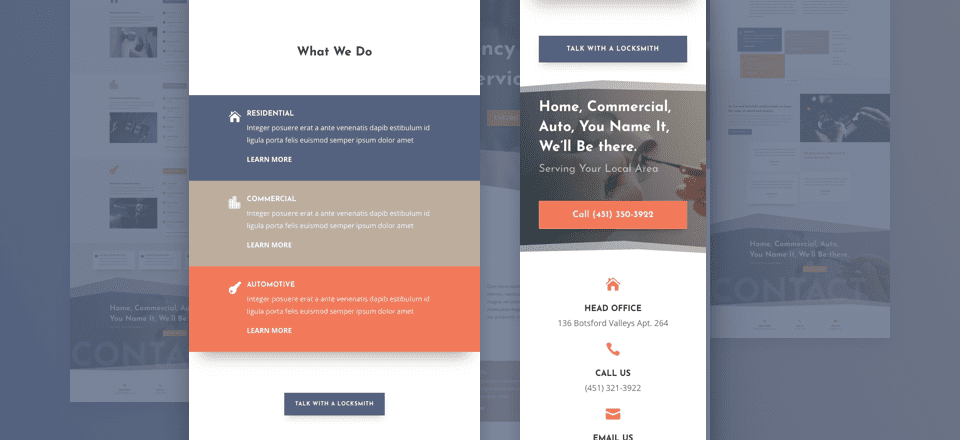
How To Create Fixed Mobile Footer Bars With Divi In 2020 Blog Themes Footer Elegant Themes

Divi Layout Typography Customizer Settings Elegant Themes Documentation
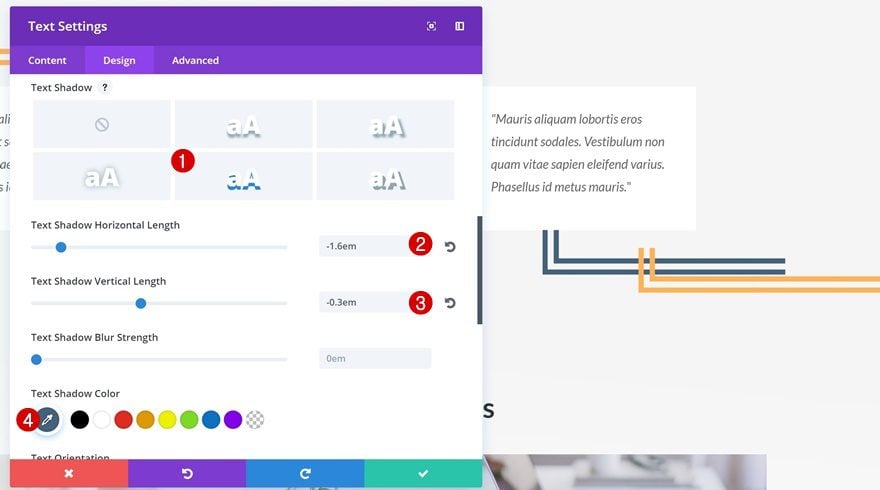
A Guide To Understanding And Applying Css Length Units In Divi Elegant Themes Blog

Divi Tips 6 In 2020 Tips Css Templates
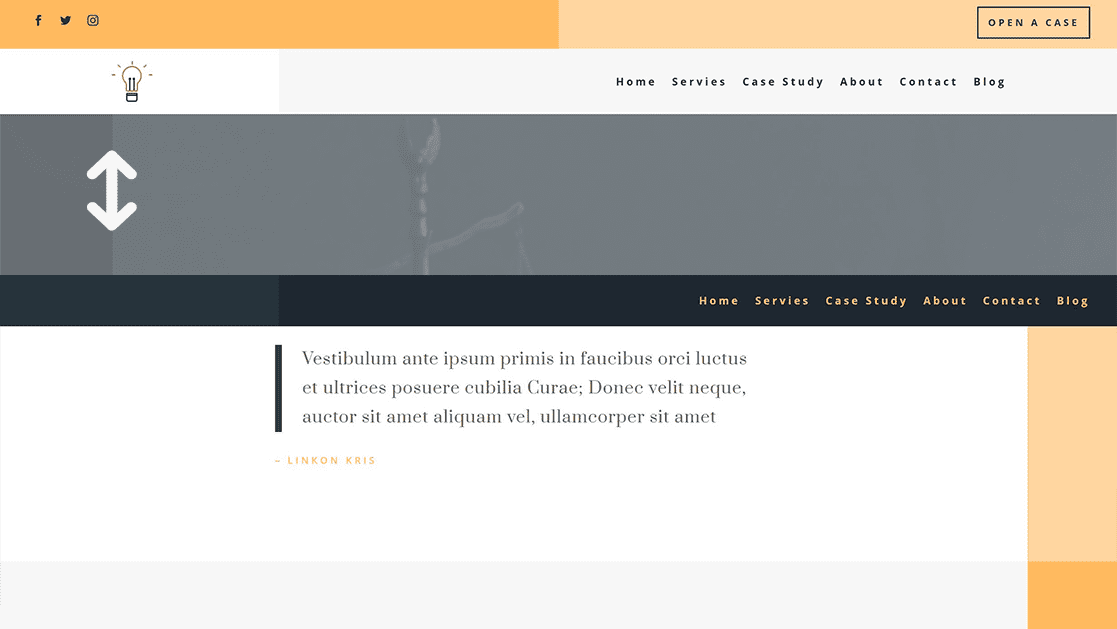
How To Create A Sticky Header With Divi S Sticky Options Elegant Themes Blog

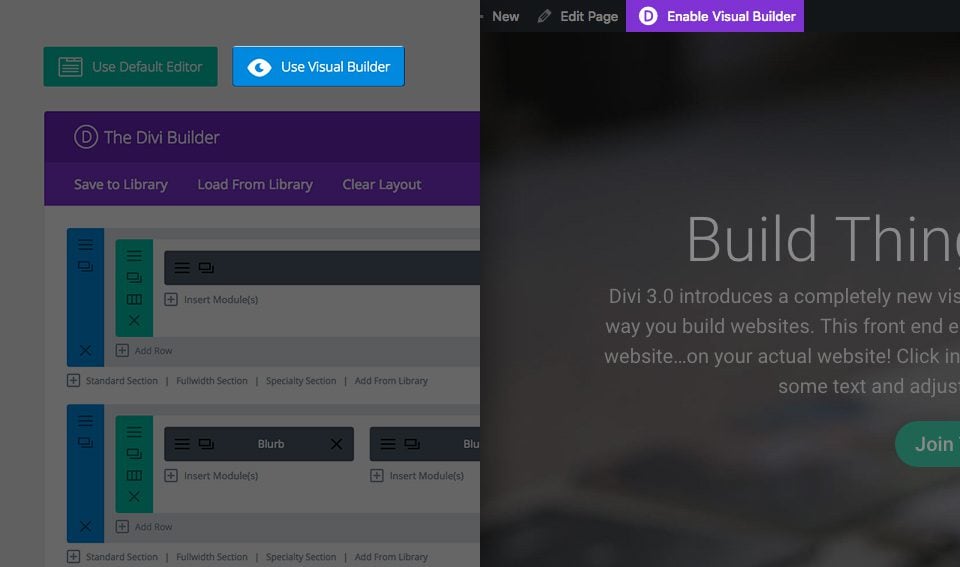
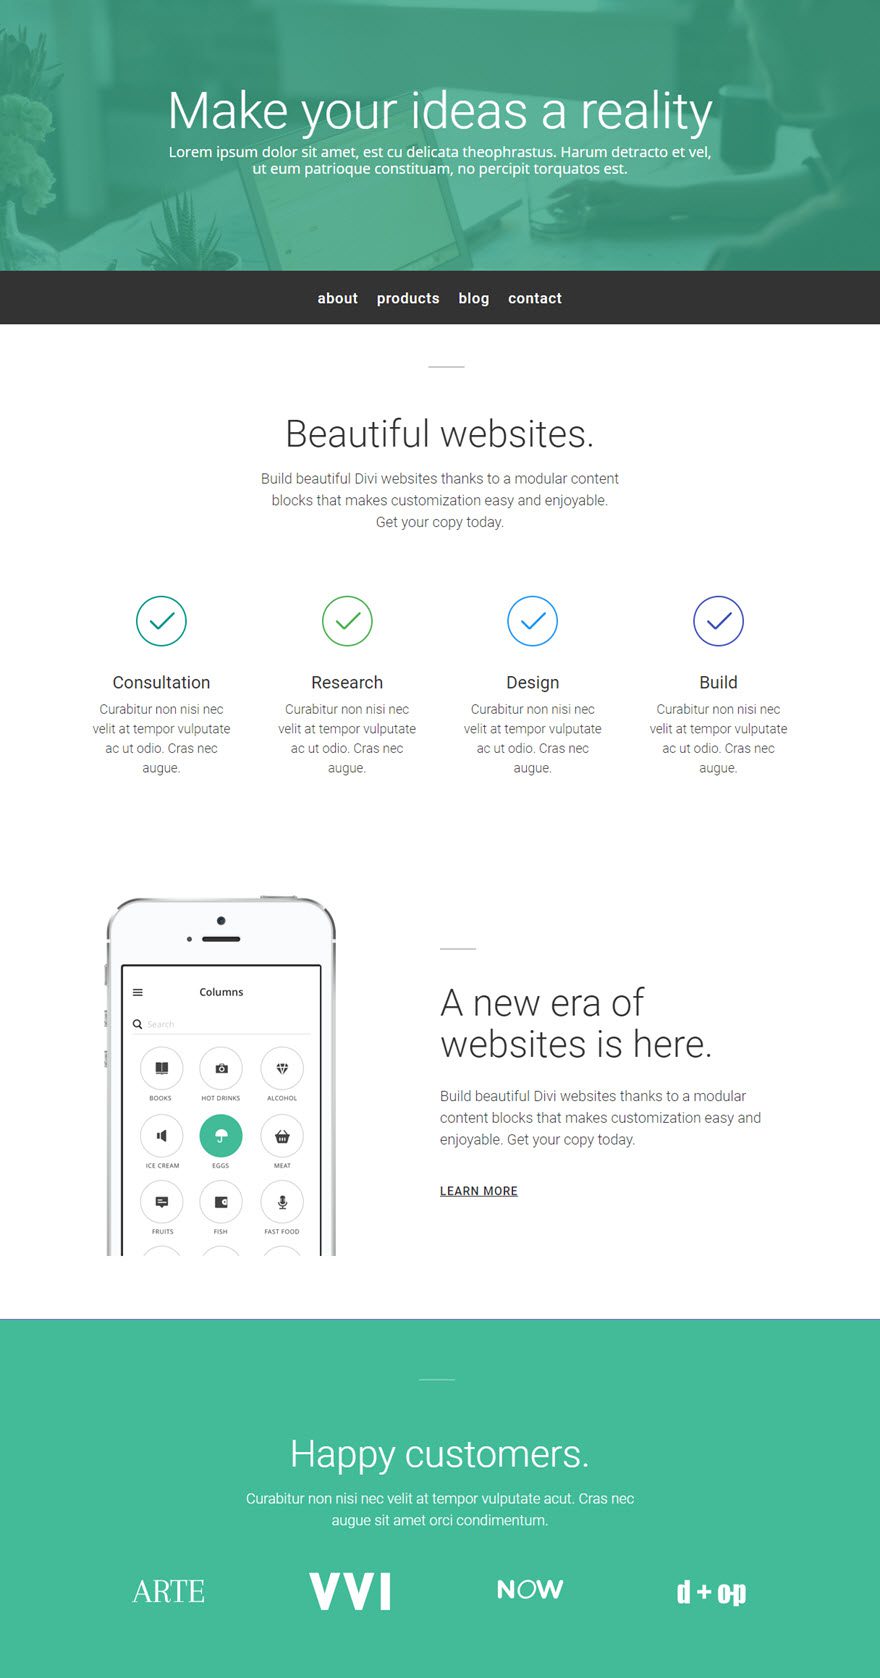
Make sure the row width and row max width are both set to 100.
Divi builder section custom css gutter width 1.

How To Customize The Divi Login Screen In Under 3 Minutes Web Themes Custom Login
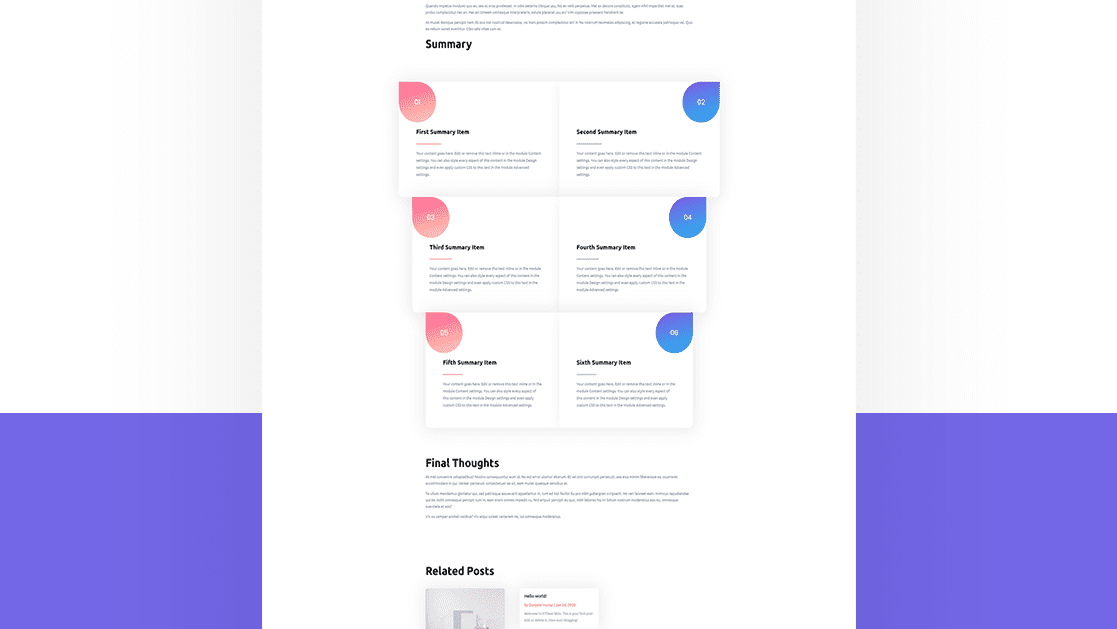
How To Include A Summary Box Divi Layout Block In Your Gutenberg Post Elegant Themes Blog

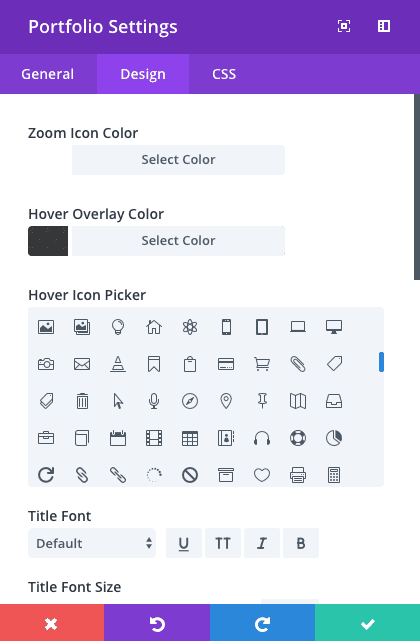
Changing The Pin Icon In The Divi Module Widget Change Icon

Download The Free Divi Photo Gallery Page Layout Pack Page Layout Layout Photo Galleries

How To Create A Slide Down Push Menu In Divi Seo News

Why Does A Row Set To Full Width Has A Width Of 89 In Divi Theme Stack Overflow
How To Optimize Your Divi Layout For Mobile Devices Elegant Themes Blog

Https Encrypted Tbn0 Gstatic Com Images Q Tbn 3aand9gcqvhgtotgfdwnh7bowml8c48h8dbvnzyfp0qw Usqp Cau
How To Add One Sided Box Shadows To Design Elements In Divi Elegant Themes Blog

How To Build A Reading Progress Bar For Your Divi Blog Posts Without A Plugin Seo News

404 Video Background Background Elegant Themes

How To Create A Slashing Text Scroll Effect In Divi Elegant Themes Blog

Make Your Divi Mobile Logo Bigger Mockup Psd Mockup Mobile Logo

Https Encrypted Tbn0 Gstatic Com Images Q Tbn 3aand9gctslrez Vvuzwgr2owl6atfzpdberpkk Fk3a Usqp Cau

How To Create A Fixed Footer Bar For Your Divi Theme Seo News

5 Creative Ways To Use Divi S Built In Margin And Gutter Controls Elegant Themes Blog
Https Encrypted Tbn0 Gstatic Com Images Q Tbn 3aand9gcqiqcxiynh2npozhcpygqgomhooyl Ogp64zg Usqp Cau
The Divi Gallery Module Elegant Themes Documentation
How To Create A Minimal Portfolio Homepage With Divi Elegant Themes Blog
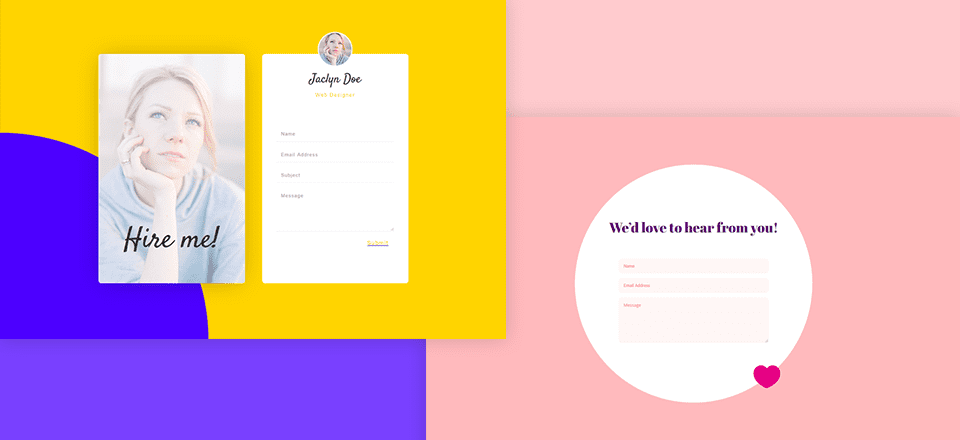
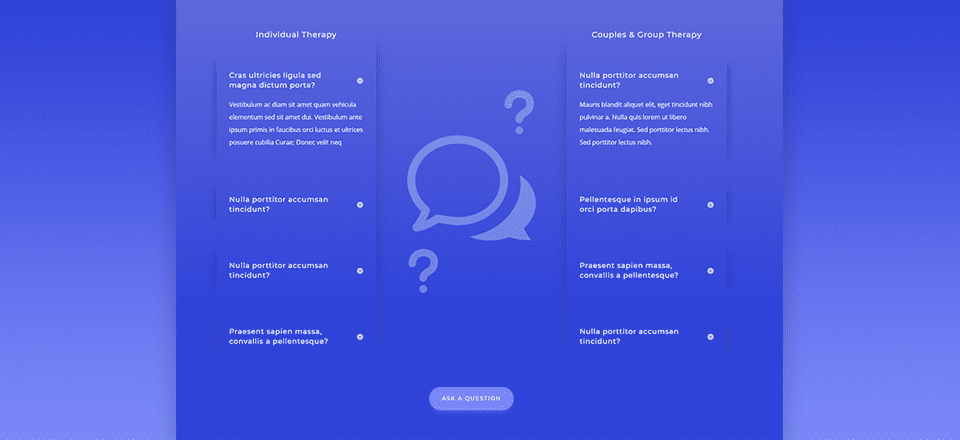
5 Unique Ways To Style Divi S Contact Form Module Elegant Themes Blog
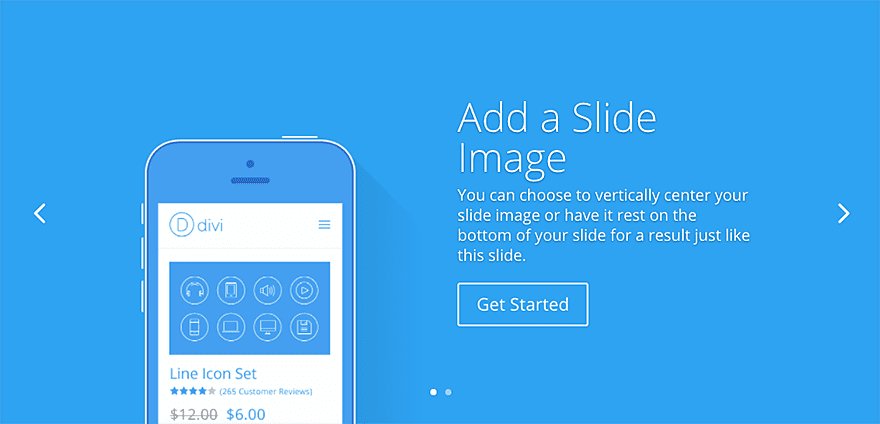
The Divi Fullwidth Slider Module Elegant Themes Documentation

How To Style Divi Theme Person Module
How To Creatively Use Symbols In Your Web Design With Divi Elegant Themes Blog
The Divi Fullwidth Menu Module Elegant Themes Documentation
Source : pinterest.com
